Graduated Micro-Splitter Valves Instruction Guide
- Connect your incoming fluid line to the inlet port of the valve, using the fittings provided.
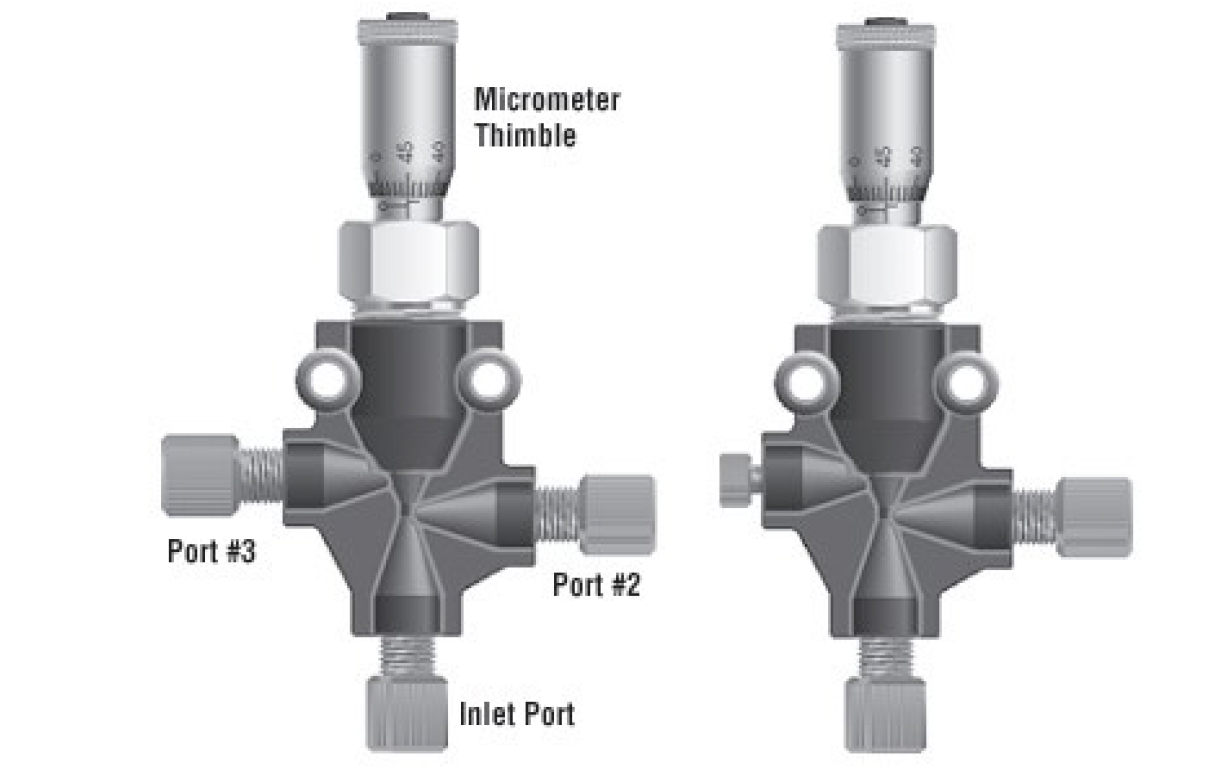
- Connect your tubing line which will receive the higher percentage of the inlet flow to Port #2 on the valve. The tubing line that will receive the split flow should be connected to Port#3. Once again, use the fittings provided with the valve.
- Connect the two effluent tubings to the apparatuses of your choice.
- With the valve "fully open" (see note below), start the fluid transfer through the valve. Rotate the micrometer thimble clockwise to decrease the amount of fluid leaving through Port #3. To increase the amount of flow through Port #3, always rotate the valve counter-clockwise past the point you would like to set the valve to, then rotate clockwise to reach the desired point. If small adjustments are necessary, it will work best to rotate the valve counterclockwise at least half a turn before moving clockwise to the setting.
Please note: Port #3 on the Graduated Capillary Micro-Splitter Valve is designed for use with an appropriately-sized Micro Tight™ tubing sleeve, available separately.
Please Note: The Valves are designed to work when both effluent flow path pressures are nearly identical. However, the split flow path will often have higher back pressure than the waste flow path, making it hard to achieve any split flow at all. There are two possible solutions. First, you may place a Back Pressure Regulator on the waste flow path that is equal to or slightly greater than the pressure on the split flow path. The second alternative is to switch the two effluent pathways such that the split flow pathway is attached to the "waste" port on the valve and the waste flow pathway is attached to the "split" port on the valve. This second method may, however, result in a loss of adjustment sensitivity.
CAUTION! Do not tighten the valve past the physical zero point on the adjustment knob. Doing so may damage the valve. This valve is considered "fully open" after the knob has been rotated 2 ½ complete turns counterclockwise from the physical zero point. Any further opening should be avoided so as to not damage the valve's components.